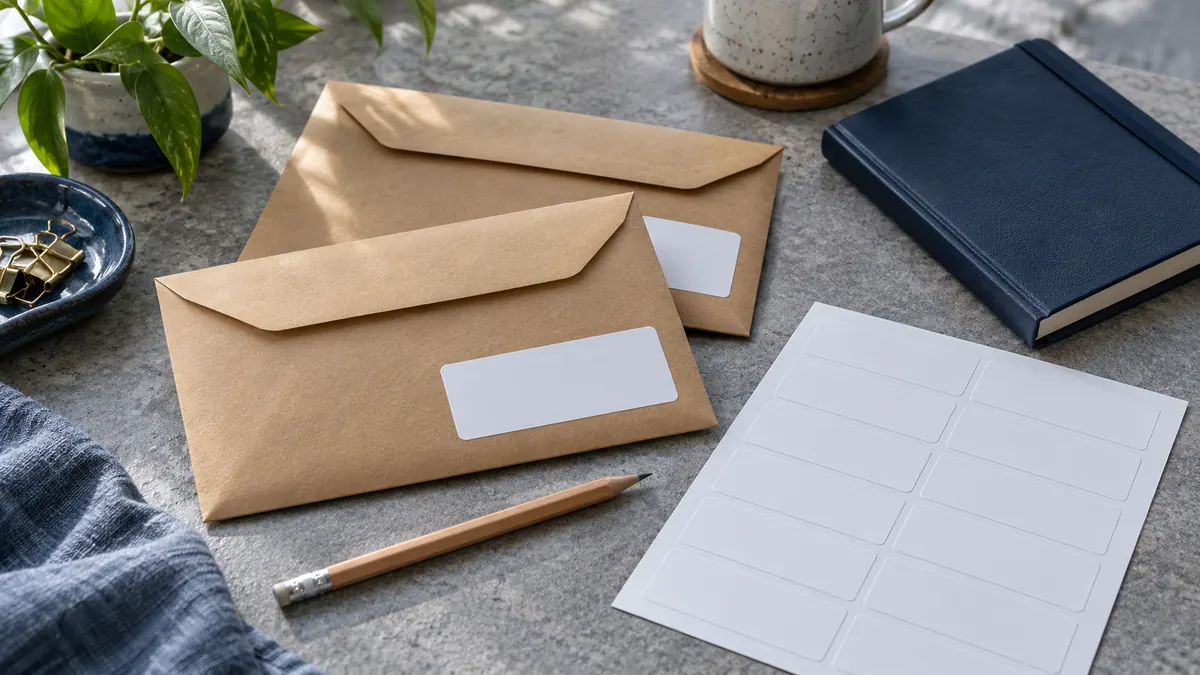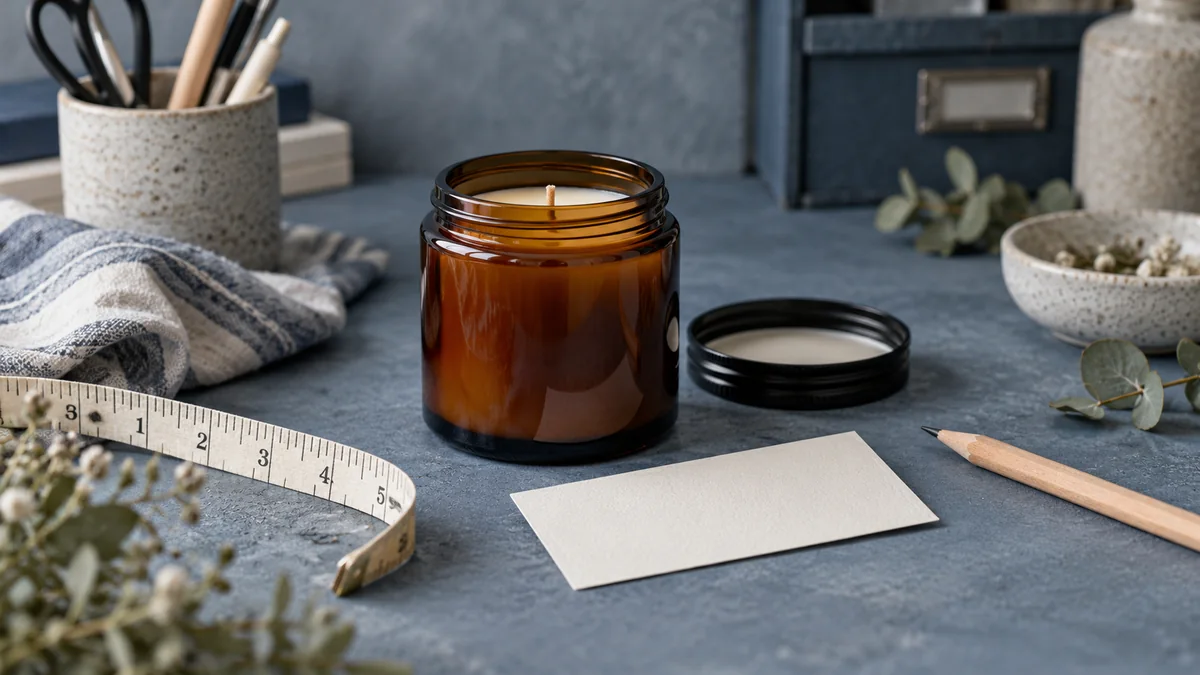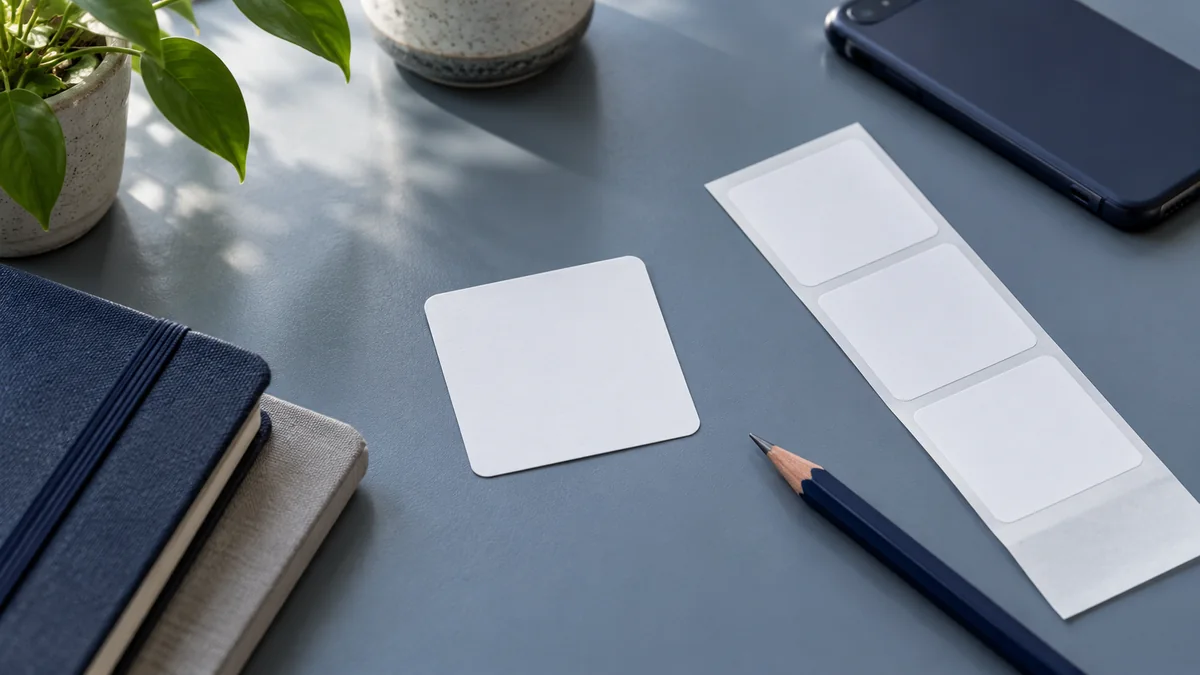
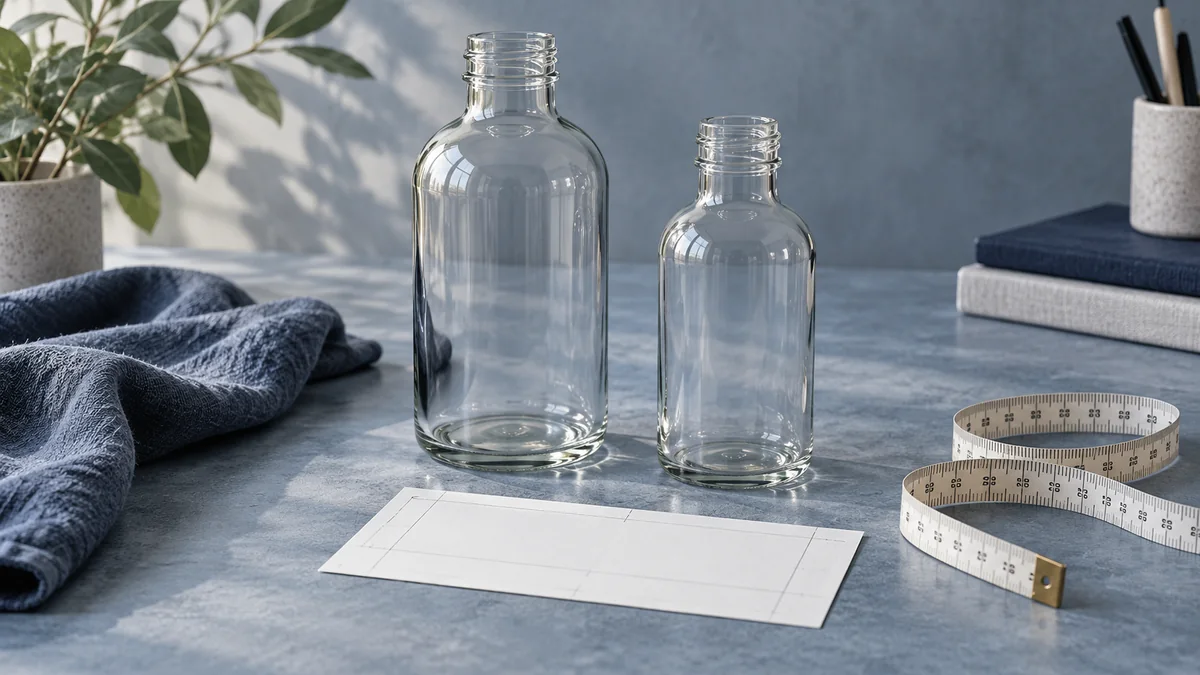
A bottle label maker is best considered as part of a workflow, not just a device. Creating artwork, producing the printed label and attaching it to the bottle are separate tasks. Printable blank labels and professionally printed labels offer different routes through the printing step; an applicator addresses placement rather than artwork creation.
For a small brand, the useful starting question is: what does the finished bottle need, and which part of the process still needs solving? This guide follows that decision from bottle measurements to a trial batch, without ranking machines or assuming one label construction fits every product.
Key takeaways
- Measure the actual labeling area. Bottle capacity alone is not a substitute for checking the surface where the label will sit.
- Evaluate the label material and printed design separately. Protecting the print does not automatically make a paper label waterproof.
Explore Polono for an overview of our printing range, keeping bottle fit, media compatibility, and application requirements separate when planning your setup.
What does a bottle label maker actually do?
Separate the job into three parts: preparing a design, printing it onto suitable stock, and applying the finished label. In-house printing starts with compatible Polono labels and supplies; a printing service supplies the printed output. Application is a further step that can be planned independently.
Use that distinction when comparing options. If the artwork is unfinished, the immediate task is a layout decision. If the design is settled, the questions move to stock and printed output. If labels are already available, focus on how they will be placed on the bottle. A proposal should make clear which of these tasks it includes.
Keep the brief concrete: is the intended result a short identifier, or a graphic product label? Does it need one design or several versions? These are requirements to define before looking at equipment, not reasons to prefer a particular brand.
Measure the bottle before choosing label dimensions
Start with the intended label position. On a bottle or jar, identify the smooth section between the shoulder and base, then measure its available height and width. A flexible tape can follow the circumference of a cylindrical container. Curves, edges and texture affect fit; extending a label into a curved area can introduce wrinkles or lifting.
Record the actual container rather than choosing a size from the bottle's stated volume. For a hypothetical hot sauce project, the worksheet might ask for the body shape, usable label height, proposed width and intended seam position. None of those measurements should be filled in until the bottle is available.
A front label and a back label can divide the content, while a separate lid label is another placement option for a jar. The layout does not have to force all information into one large rectangle.
For a wine or beer label project, decide which information belongs in each placement before making the artwork. This is a layout exercise, not a legal-content checklist.
Match the label stock to the print method
Choose stock explicitly intended for the printing technology being used. Inkjet-only and laser-only label products are not automatically interchangeable, although some stock is approved for both. Confirm the exact label stock and printer instructions rather than treating a matching sheet size as proof of compatibility.
Make compatibility a recorded item in the project brief: stock identification, printing method and the supplier's relevant instructions. When comparing label makers or an existing office printer, ask for confirmation of the intended stock instead of assuming that a general printing capability covers it.
For a printing-service route, put the same question into the order specification: which material and production process will be used for this artwork? Avoid substituting a finish name such as “glossy” for a complete material specification.
For bottles exposed to condensation or washing, read our waterproof label maker guide for the material, adhesive, surface, and testing questions behind a durability claim.
Treat water resistance as a complete-label question
Separate protection of the printed design from the base label material. Post-print protection may improve a design's resistance to moisture, but it does not by itself turn paper-based label stock into a waterproof label.
Describe the intended exposure in the specification rather than relying on the word “waterproof.” Will the bottle be handled dry, chilled, splashed or placed in water? Which exposures actually belong in the project? Ask the supplier what is supported for the selected construction, including its print and adhesive, and what remains to be checked on a sample.
Do not treat a moisture-related description as confirmation of dishwasher, freezer, oil or chemical performance. Those are separate requirements to resolve if they apply. The proposed trial should reflect the bottle's intended use; this guide does not establish a universal resistance rating.
Choose a supply format that fits the application step
Printable blanks keep the printing step in-house, while supplied printed labels move that step to a service. Keep the choice separate from how the labels will be attached.
Compare the complete proposed route: who owns the artwork file, who produces the output, how the labels arrive, and who applies them. If a supplier offers sheets, individually supplied labels or rolls, specify the format explicitly; do not assume they can be substituted within an equipment setup.
For a roll-fed applicator, check the machine's requirements for container shape, liner width, core size, roll diameter, winding direction and die-cut waste removal. These are machine-specific checks, not universal roll dimensions. A label's finished width alone does not describe the entire supply roll.
For glass bottles, include the actual bottle shape in that conversation. If the container is tapered or unusual, request a sample evaluation with the intended application setup rather than accepting “bottle compatible” as the complete answer.
Prepare the artwork and run a physical trial
Distinguish the finished cut edge, the safe area for important text and graphics, and the bleed area for backgrounds that extend beyond the edge. Use the production template's own dimensions; one margin is not a universal rule for every supplier and format.
Before production, ask which file, template and output size the supplier expects. Check the wording and version of the artwork, not just its appearance on screen. Keep an approved file separate from working drafts so the trial uses the intended design.
Try a physical sample on the actual container to assess fit and placement. Test unfamiliar stock or container combinations with the intended applicator before committing to production.
A useful trial record can note the stock, artwork version, bottle, printing setup, application method and the conditions chosen for evaluation. Record observations separately: fit, readable text, printed appearance and any edge movement. Agree on project-specific acceptance criteria rather than borrowing a generic pass/fail promise.
For repeat orders, note what will stay fixed and what will change. If artwork, container or material changes, make that change visible in the next specification instead of treating the previous sample as approval of a different combination.
Bottle label maker planning checklist
Use the following as a project brief, not a product-ranking scorecard.
- Container and fit: record the actual bottle shape, intended label position and measured usable area.
- Printing and stock: identify the exact stock and confirm it is intended for the selected printing method.
- Exposure: distinguish the base material from print protection and ask about the conditions relevant to the project. Do not assume paper becomes waterproof after a protective treatment.
- Supply and application: confirm the intended machine's container and roll requirements, not just the finished label size.
- Trial: evaluate a sample on the actual container and, where relevant, with the intended applicator. Record what was checked and what remains untested.
The decision is ready when the proposed workflow answers these questions clearly. The next step is a documented sample, not a claim that one machine is the best bottle label maker for every business.