Choosing a label maker for clothes starts with a different question: what kind of label needs to go on the garment?
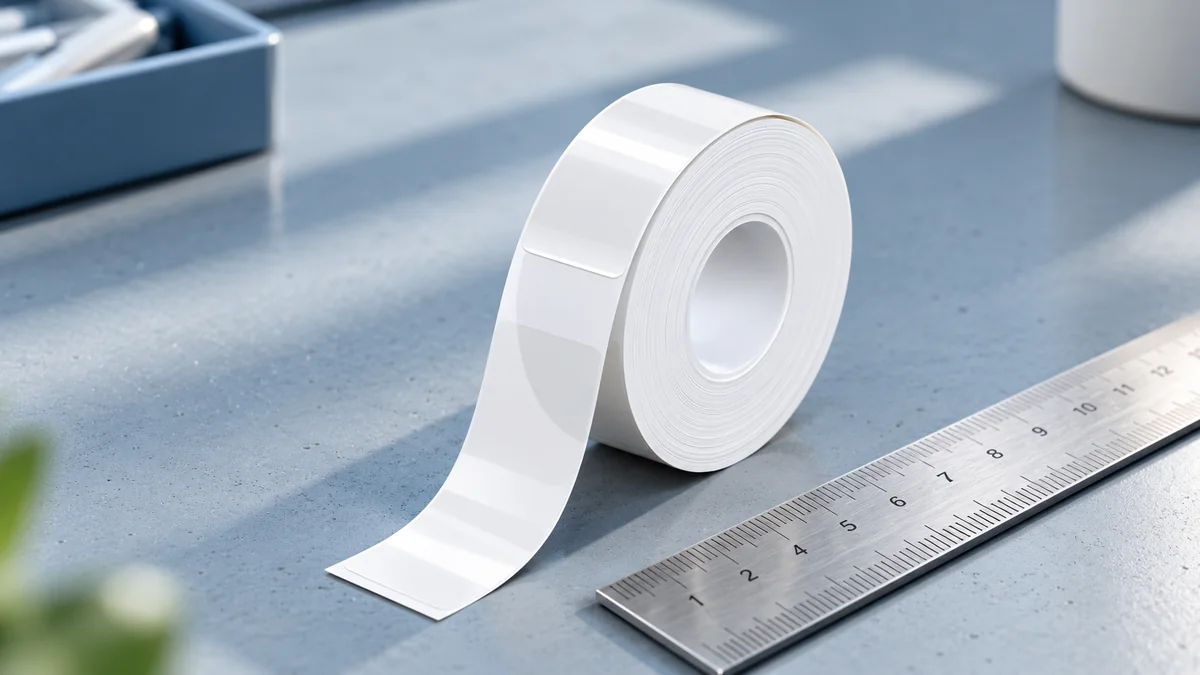
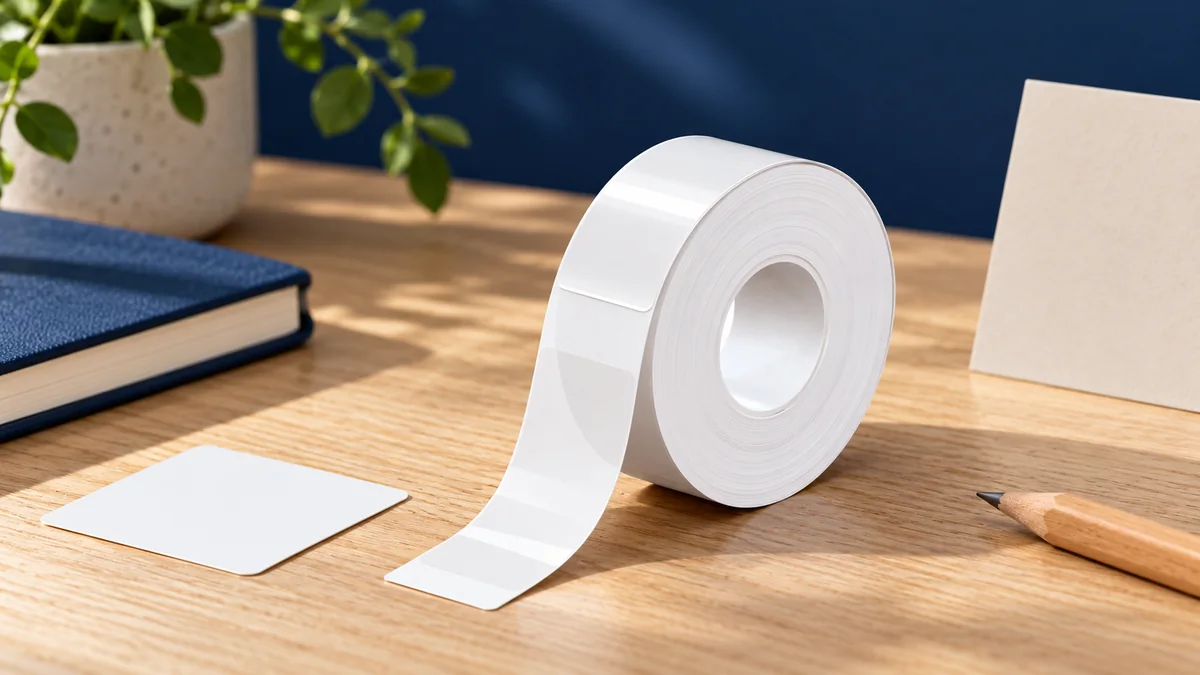
Dedicated fabric tape can be printed and attached with heat for garment identification.
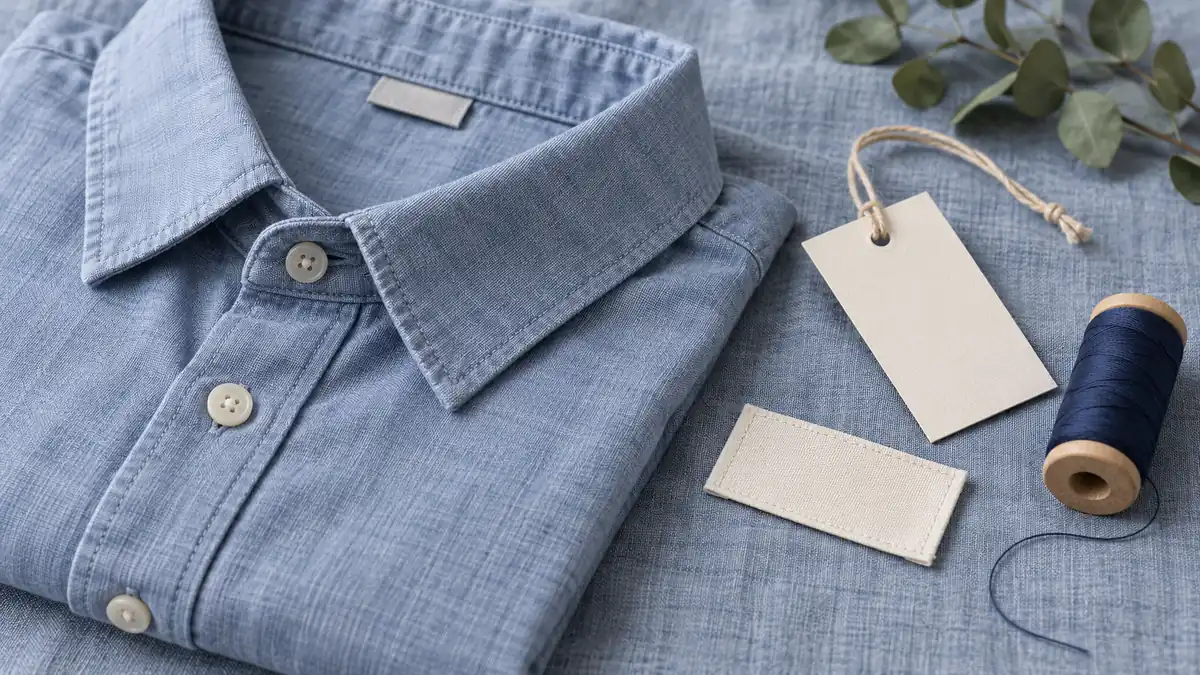
A cardstock retail hangtag is a different result: it can hang from clothing using a hole and string. Decide which result is needed before comparing machines.
The short answer: choose the label material first and check the exact printing system it requires. Fabric tape, inkjet fabric sheets and printable cardstock tags are not interchangeable formats.
Then match its washing and drying instructions to the garment. Laundry suitability depends on the particular material, not simply whether a label is called a fabric label.
The Polono homepage introduces our printing range. For labels attached to clothing, check the exact material and printer requirements separately; a general label-maker category does not establish fabric compatibility.
What kind of clothing label do you need?
Start by separating identification during use from information displayed at the point of sale.
For a hypothetical school uniform, the goal might be a short name that remains readable through the garment's normal care routine. For a small clothing shop, the goal might instead be a tag showing a size, item code and price that is removed before the garment is worn.
Iron-on label tape is one option for garment identification.
Cardstock tags with strings are a separate option for retail information. Define the finished label rather than relying on the broad phrase “clothes label maker” alone.
Use these questions to narrow the task:
- Does the label need to stay on the clothing during washing?
- Is it a name identifier, a decorative fabric label or a removable shop tag?
- Is text enough, or is a larger design needed?
- Should printing happen at home, or should finished labels be ordered?
Keep industrial woven-label production as a separate project. This guide focuses on selecting practical identification and tagging methods, not manufacturing labels or preparing regulated garment-care information.
Compare iron-on, no-iron and sewn-on labels
Attachment method and printing method are two different decisions.
Iron-on tape uses a dedicated fabric-label cassette in a compatible printing system, followed by heat application.
Before choosing it, check the garment care instructions and test the label on the intended fabric; heat-sensitive materials and unsuitable surfaces can be excluded by the tape instructions. Follow the instructions for the exact tape rather than borrowing one iron setting or application time for every material.
No-iron adhesive labels avoid the ironing step, but some are designed only for handwriting with a permanent marker. “No-iron” describes attachment; it does not establish printer compatibility. If printing is essential, confirm that the selected label is expressly printable before buying equipment for it.
Sewn-on printable fabric is another workflow. Some fabric sheets can be printed with an inkjet printer and then either sewn or ironed onto an item. A fabric sheet is not the same consumable as a small label-maker cassette, and sewing it on does not automatically change its printed material's care requirements.
For a few name labels, include handwriting in the comparison. A printer is a means to an end, not a requirement for every clothing-label task.
Match the label material to the printer
Choose a printer only after identifying the exact medium it needs to handle.
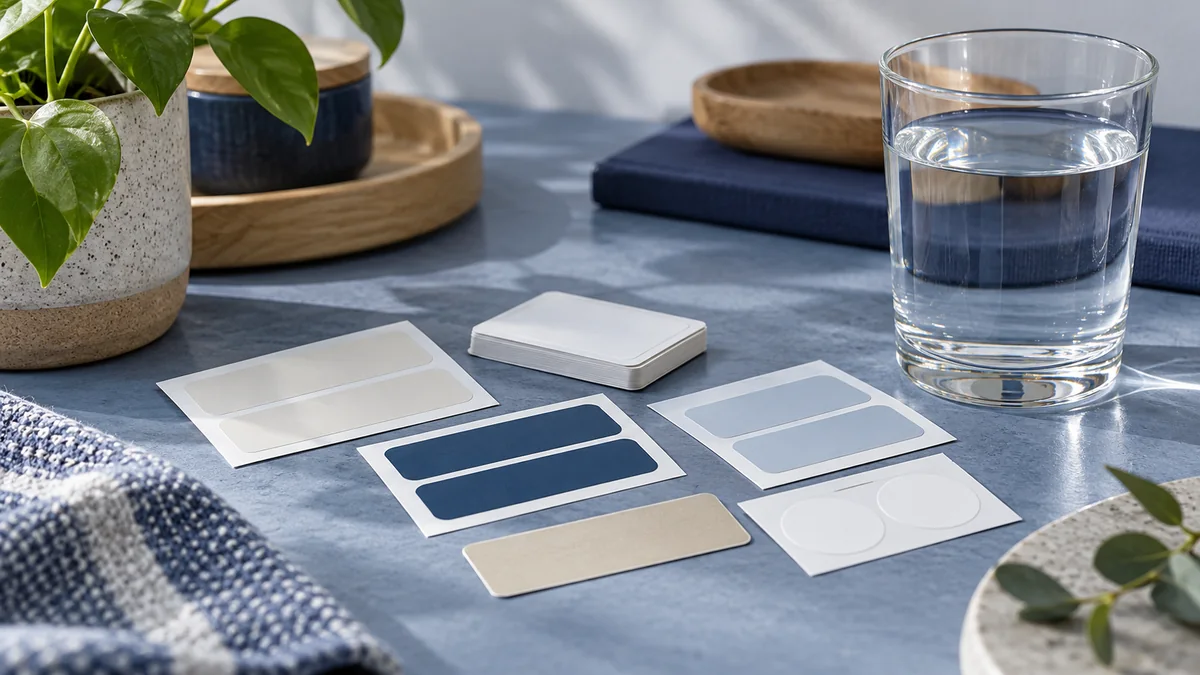
Printable clothing-label supplies span different systems: dedicated iron-on tape families, inkjet fabric sheets, and cardstock tag sheets intended for laser or inkjet printing. A label maker for fabric therefore needs a more precise description than “prints labels.”
Use a compatibility checklist rather than matching by appearance:
- Exact device and supported tape or media family.
- Required cassette, roll or sheet format.
- Supported width or sheet size.
- Printing technology specified for the material.
- Usable space for the intended name or design.
Also check whether the supply is printable at all. Some clothing stickers are handwrite-only, even though they are sold alongside other labeling products.
Keep a distinction between selecting equipment for garment labels and selecting it for surrounding organization tasks using Polono label makers. A storage-bin label, a shelf identifier and a label attached to clothing should each have their own material requirements.
Check washing and drying before labeling a wardrobe
The relevant question is not just “Will it stick?” Ask whether the label's care instructions fit the way the garment will actually be cleaned.
Some iron-on tape instructions allow repeated washing under specified conditions. Some printable fabric-sheet instructions instead recommend cold hand-washing, flat drying and no machine washing or drying. That difference makes “fabric label” too broad to serve as a laundry guarantee.
Read the garment's care instructions before choosing a heat-applied label, and use the tape instructions to check the intended fabric and application surface. If the garment and label call for incompatible treatment, choose a different labeling method rather than changing the garment's care routine to accommodate the label.
Before labeling a full wardrobe, write down:
- Normal wash cycle and water temperature.
- Whether the item goes in a tumble dryer.
- Any detergent or bleach restrictions stated for the label.
- Any required waiting period before the first wash.
Check these details for the exact supply. Do not transfer a wash count, dryer allowance or waiting period from a different label just because the two look similar.
Design a useful clothing name label
Keep the design tied to the identification task. As a hypothetical example, a school label might use “A. Chen” on one line and a class identifier on another, if that information is useful to the school. A personal laundry label might need only a name.
Start with the minimum information needed, then check a physical sample at its actual size. Rather than reducing the text until everything fits, consider whether a shorter identifier would do the job.
Before making a batch, review the sample for:
- Readability without zooming into a phone preview.
- Correct spelling and the intended information.
- Space around the text.
- Placement that leaves the garment's existing care information readable.
- A position and attachment method appropriate to the item.
For the hypothetical school-label example, compare a name-only layout with a name-and-class layout. Keep the extra line only if it is useful and readable, and include multi-line and font options in the equipment checklist.
Use a different workflow for retail clothing tags
Retail tagging should begin with the information the shop needs, not with a washable name-label design.
Printable cardstock hangtags can provide room for details such as a logo, price or item identifier, and attach through a pre-punched hole with a string. This is a hanging tag rather than an adhesive label placed directly on the fabric.
For a hypothetical small clothing batch, a simple layout might include the item name, size, stock code and price. Confirm the shop's information requirements before creating the template, then proof one finished tag.
Some cardstock tags are supplied as printable sheets for laser or inkjet printers. Do not assume that a compact tape printer can feed those sheets. Choosing between a tag sheet and a tape label is a workflow decision, not merely a choice of tag dimensions.
Keep the shop-tag design separate from any identifier that will remain with the garment during laundering.
For additional supply-selection checks, read our guide to choosing label maker tape and labels, while keeping the garment-specific application and care requirements above.
A small test before printing a full batch
Use a small trial to check the complete process before committing to a large batch.
- Confirm the exact printer and media combination in the supply instructions.
- Check the garment care information and try the label on the intended fabric as directed.
- Print or write one sample and inspect its text, size and placement.
- Follow the selected label's application and waiting instructions.
- If the label is intended to remain during laundry, trial the garment's usual care routine only when it is permitted by the label instructions. Different fabric-label materials can have different washing and drying limits.
- Inspect readability and attachment before expanding the batch.
A successful sample is useful feedback, not proof of unlimited wash life or suitability for every garment. The best starting point is a clear label requirement: what it must identify, how it attaches, which equipment can print it, and how it will be cared for.