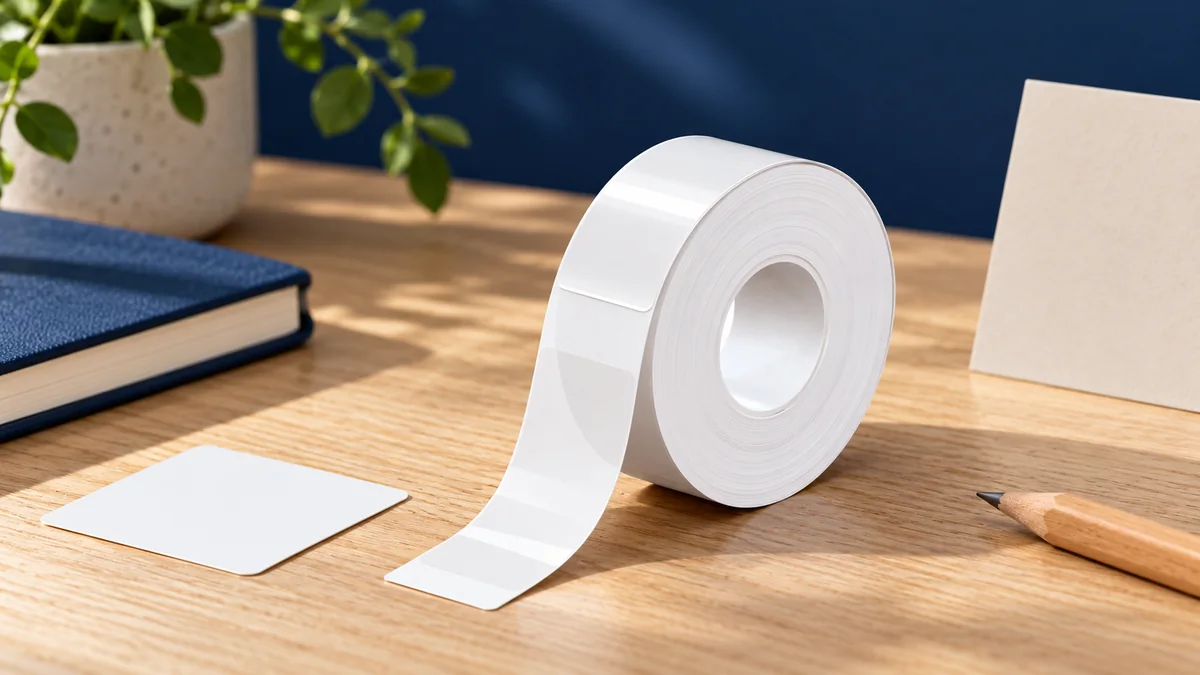
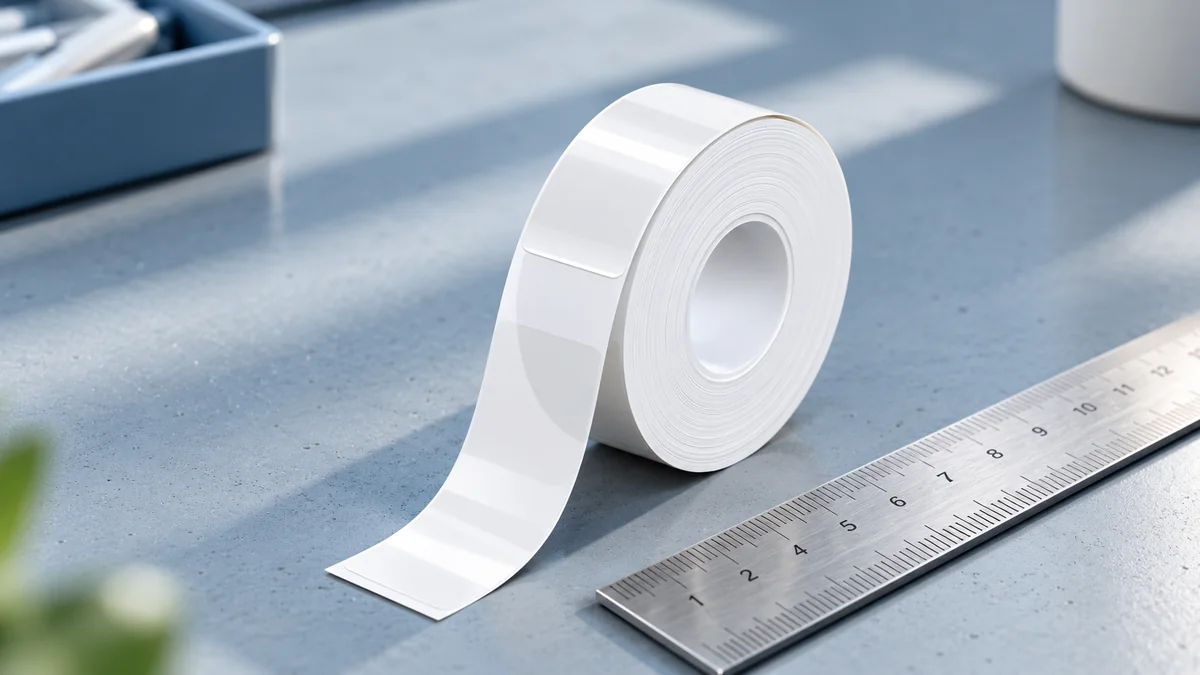
Choosing label-maker tape involves three separate questions: what the size means, whether the supply fits the printer, and whether the intended text fits the layout. Start with the exact printer and replacement-tape reference, then choose among its supported sizes. A width chart is a useful reference, but it should not be treated as a compatibility chart.
Explore Polono for an overview of our printing range, then verify the exact printer and supply reference before comparing tape dimensions.
What the numbers on a tape package mean
Read the dimensions individually rather than treating the largest number as the label size.
A package marked 12 mm × 8 m can describe tape that is 12 mm wide with 8 m supplied in the cassette. That is the format used for Brother TZe131G; the 8 m figure is the supply length, not the length of each finished label. The same tape is sold under an approximate 1/2-inch size label while its actual-size listing says 0.47 inch.
| Term to check | Question it answers | What to record |
|---|---|---|
| Tape width | How wide is the physical strip? | The package's metric width and exact tape reference |
| Cassette or roll length | How much tape is supplied? | The total length, separate from the width |
| Finished-label length | How long should this individual label be? | The intended cut length or selected template |
| Printable area | Where can the design sit? | The boundary shown for the actual printer and layout |
Keep those four entries separate when comparing replacements. For example, a request for “12 mm tape” still leaves the tape family, cassette reference and printer to be identified.
Read a tape-width chart without assuming compatibility
Use a width list to understand the choices within a documented system—not to infer what an unidentified machine accepts.
For orientation, the PT-H500 uses the following metric tape widths. Check another printer's own size list before choosing its replacement tape.
| Documented tape width | What to check before choosing it |
|---|---|
| 3.5 mm | Exact printer support and the intended single-label layout |
| 6 mm | Exact supply reference and the space available for the wording |
| 9 mm | Exact supply reference and the space available for the wording |
| 12 mm | Exact supply reference and the space available for the wording |
| 18 mm | Exact printer support, layout and application space |
| 24 mm | Exact printer support, layout and application space |
Decide what the label must say and where it will go before choosing among the supported widths.
When a seller uses an inch-based category name, retain the manufacturer's metric size and part number in the comparison. Do not substitute an exact conversion for a rounded shopping label, or use a rounded label to override a device specification.
Check the tape family and exact printer first
Treat compatibility as a match between a particular supply and a particular printer in the Polono label maker range. Check the model identifier on the machine, the supported supply family, the width and the replacement part number.
Even a shared brand name does not establish interchangeability: Epson LabelWorks LK and PX are different platforms, and their tapes are not interchangeable.
Within LabelWorks PX, tape-width limitations still apply to supply compatibility. A platform match therefore does not remove the need to check the printer's supported width.
For a replacement purchase, make the question specific: “Is this exact tape reference supported by this exact printer?” A listing that gives only the width has not answered that question. Keep packaging or a photo of the current cassette available as a reference, but verify the replacement against the device's instructions rather than relying only on its appearance.
The same process applies when comparing options in a tape-and-label catalog. Use the catalog to locate possible supplies, then verify the exact pairing; browsing the right category is not itself confirmation of fit.
Tape width is not the same as printable space
After checking the supply, check the actual layout. Do not plan the text solely around the physical width printed on the package.
On the PT-H500, the maximum number of text lines varies with tape width. Use the line limits for the actual printer rather than carrying them over from another machine.
In P-touch Design&Print 2, the printable area is shown with a dotted-line rectangle. Keep the design inside the boundary shown for that workflow.
The same workflow warns that content extending beyond the selected tape length may be cut in the middle. Check the preview after changing the length or wording, rather than assuming that a longer text entry will automatically produce a suitable label.
For another device or app, use its own preview and instructions. Do not carry over a line limit, margin value or minimum label length from a different system. The useful habit is to inspect the available design space—not to memorize one universal number.
Choose a width around the label you need to read
Once the supported supplies are known, sketch the intended label before selecting a width. Treat the following as planning prompts, not fixed size recommendations:
- For a short name or identifier, try the exact wording in the intended layout. Is it readable at the size and position where it will be used?
- For a name plus a second detail, compare a single-line and a multi-line arrangement using the actual device's limits.
- For a storage location or shared workspace, view the sample from the distance at which someone would normally read it.
- For a small object, compare the proposed label outline with the available application space before printing a batch.
If the layout feels crowded, consider shortening the wording, changing the arrangement or trying another supported width. Avoid solving every layout problem by shrinking the text.
Keep material and adhesive selection as a separate check. Tape width alone should not be used as a promise of outdoor suitability, washing resistance or adhesion to a particular surface. For a demanding application, ask for the requirements of the exact supply rather than extending a general size guide into a durability guarantee.
Match the software format before printing
Check the selected printer and label format in the software as well as the physical supply.
In DYMO Connect, a project is tied to its selected label or tape format. Changing to a different format requires selecting a new label, rather than assuming the open project will adapt to the replacement.
Its setup sequence selects the installed printer first, then the label or tape by name, size or product code.
Other software may use different controls, so follow the instructions for the app in use. Before printing, compare the selected format with the installed supply and review the finished-label length and design boundary. Then print one sample and inspect its wording, clipping and position before committing to a larger batch. Evaluate material suitability separately from layout.
For the wider media-selection process, our guide to choosing label maker tape and labels connects supply fit with the label job and surface requirements.
Before buying replacement tape
Use this short checklist to keep the purchase decision precise:
- Record the exact printer model, including any suffix.
- Identify the supported tape or label family.
- Verify the replacement reference and width against that model.
- Read the total supply length separately from the individual-label dimensions.
- Check the selected software format and preview the actual wording.
- Review the material requirements separately, then test one label before a batch.
If an exact pairing is unclear, resolve it with the manufacturer or supplier before buying. The goal is a supported supply and a readable layout—not simply a matching width on two packages.