The best label maker for a small business is the one that fits the label job—not necessarily the model with the longest feature list. Compact product and inventory labels, office labels, and 4 × 6 shipping labels belong to different buying paths because their media and workflows differ. Define the output first, then evaluate the printer, software, label stock, surface, scan environment, and resupply process as one system.
Key takeaways
- Start with the label's purpose, finished size, and required information. A compact label maker and a 4 × 6 shipping-label printer should not be treated as interchangeable.
- Confirm that the exact label stock fits the exact printer or model; formats and supplies should not be assumed interchangeable.
- For barcodes and QR codes, evaluate size, quiet space, contrast, reflectance, and module uniformity—not just whether the code looks sharp.
- Test a new or changed barcode workflow in the environment where it will actually be scanned. GS1 also recommends re-verification after relevant software, hardware, or label changes.
- Compare the complete workflow, including design, connection, printing, application, reprinting, and reordering supplies.
Start With the Labeling Job, Not the Printer
Before comparing models, write down what the finished label must do. A bakery may need ingredient or date labels. A boutique may need price tags and QR codes. A warehouse may need location and inventory labels. An online seller may need 4 × 6 carrier labels. These tasks can differ in size, format, scanning requirements, and where the label is applied.
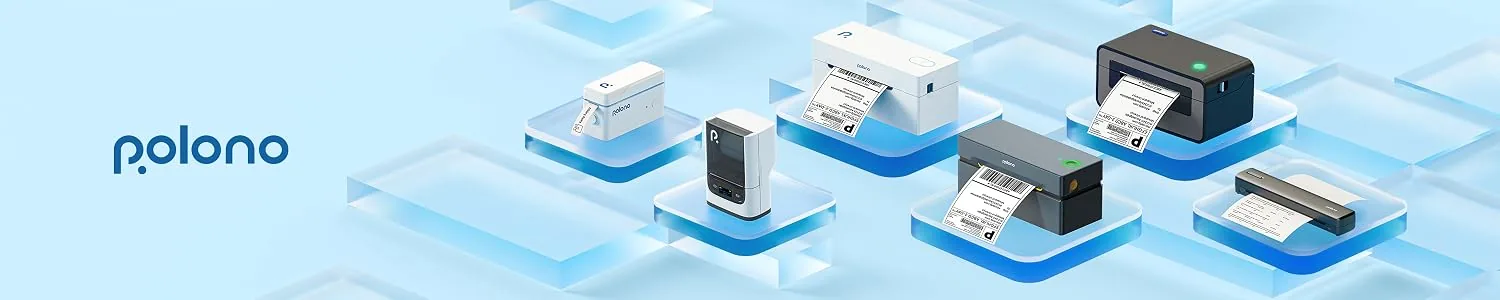
That is why “best” should mean best fit for a repeatable job. Compact labeling and wide shipping-label printing are different product and media paths, even when both devices are casually called label makers.
GS1 notes that different barcode types serve different business requirements. A useful buying process therefore begins with the output and tests the complete workflow rather than choosing on one headline feature.
Quick decision table
| Business job | Output to define first | Printer path to investigate | What to verify |
|---|---|---|---|
| Product, price, or inventory labels | Finished dimensions, shape, information density, and surface | Compact label maker | Exact model-to-media compatibility and available label format |
| Office, file, shelf, or name-tag labels | Width, length, portability, and frequency of edits | Compact label maker | Device workflow, template needs, and exact replacement media |
| Barcode or QR labels | Code type, physical size, scan distance, and scanning environment | The printer class that supports the required media and workflow | Code quality, quiet space, contrast, and real-environment testing |
| 4 × 6 carrier labels | Carrier output, packing-station setup, and label size | Dedicated shipping-label printer | Wide-media support, connection, and fulfillment workflow |
The table is a routing tool based on the documented split between compact and shipping-label paths, not a guarantee that every product in a category will meet every requirement.
After choosing a path, verify the exact model and media combination. Listed media formats can be model- and output-dependent.
Choose a Compact Label Maker for Product, Inventory, and Office Tasks
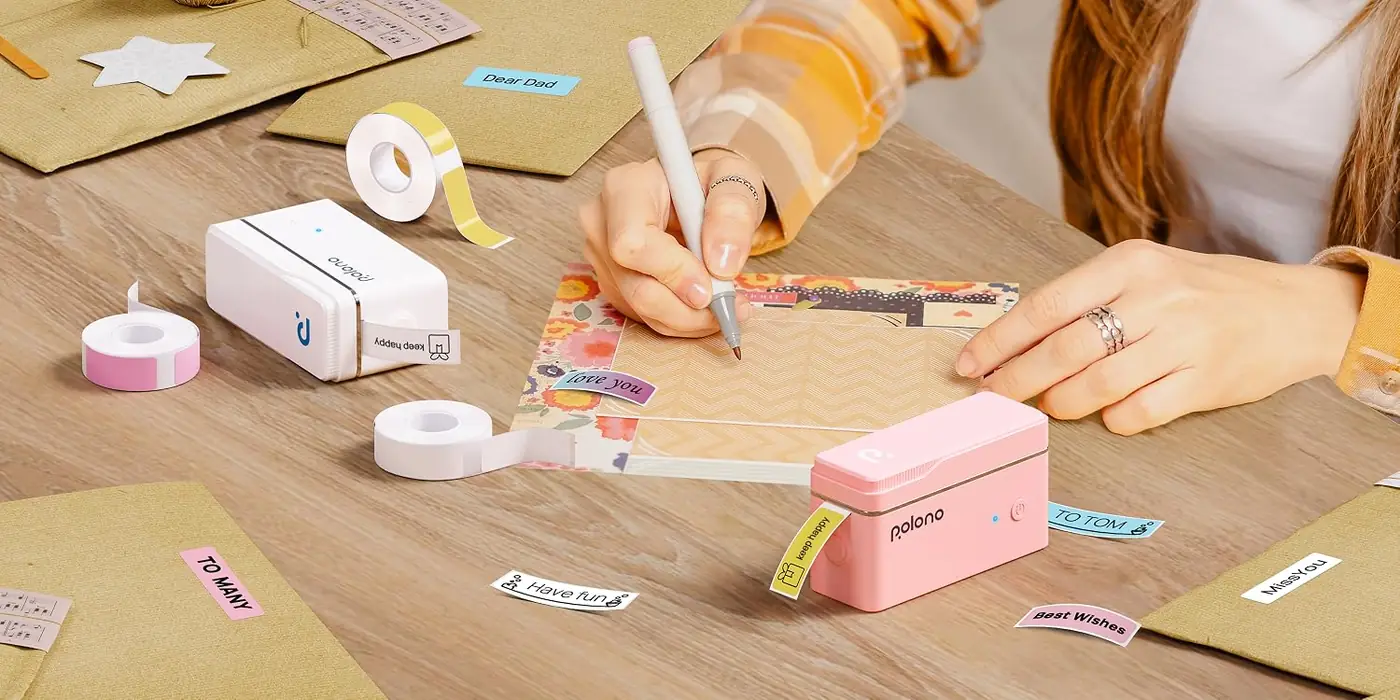
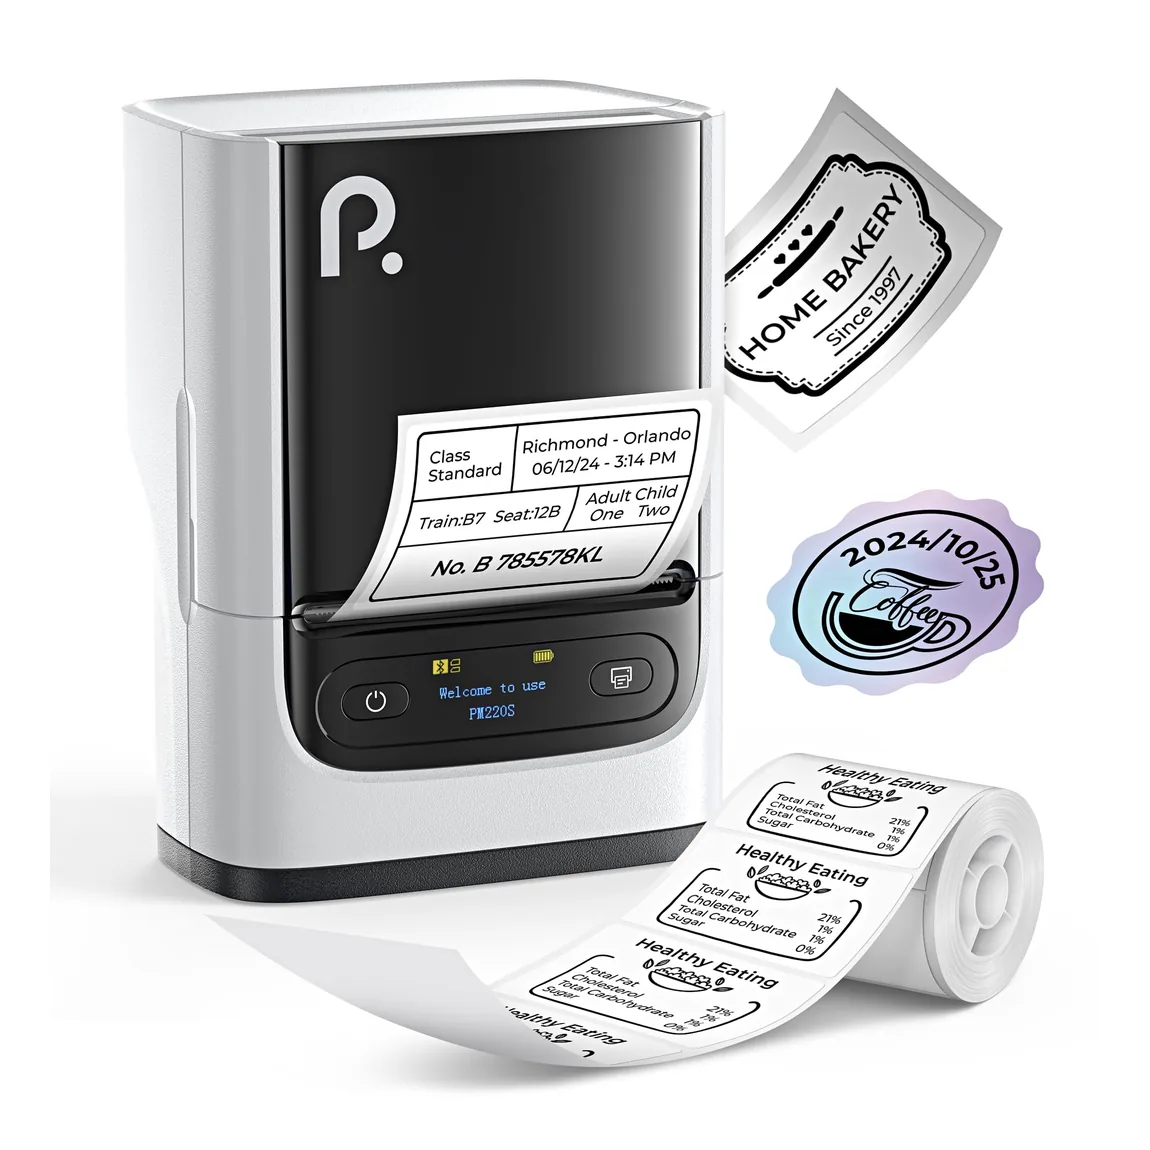
Compact label makers are the more relevant starting point when the work involves smaller product identifiers, inventory tags, price labels, file labels, shelf labels, or name tags. The important questions are how wide the finished label must be, which label formats are available, where the device will be used, and whether staff can repeat the design-and-print process.
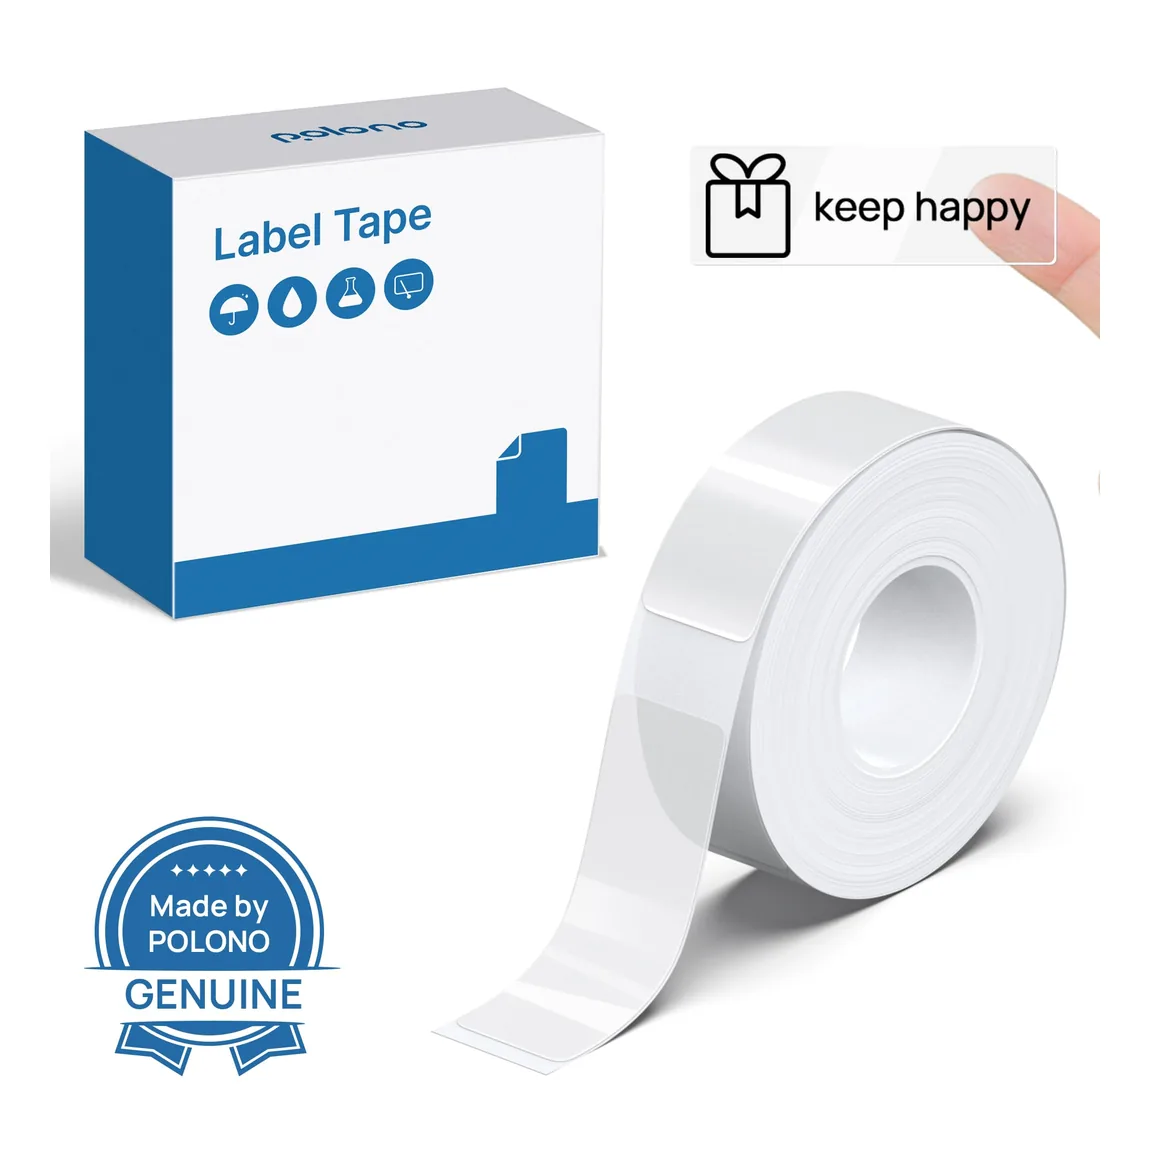
The available media guidance requires matching supplies to the exact printer or model and intended output because listed formats are not interchangeable.
Choose a Dedicated Printer for 4 × 6 Shipping Labels
If the main job is printing carrier labels at a packing station, begin with a shipping-label printer rather than a compact label maker. This path should be evaluated around carrier output, packing workflow, computer connection, wide media, and repeatable reprints.
The practical point is the category split: a business that primarily needs 4 × 6 carrier labels should evaluate a shipping workflow directly, instead of assuming a portable product-label maker will cover it.
Match the Label Stock to the Device and the Surface
Printer selection and media selection are one decision. Record the finished width and length, shape, color requirement, amount of text, code size, and where the label will be applied. Then check whether the exact printer accepts the exact label stock.
Available product and supply documentation should be checked for the exact printer or model, intended output, dimensions, format, color, material, and unit count.
Surface and exposure still need a practical test. Apply a small batch of the intended stock to the real container, shelf, folder, or package. Check whether the dimensions fit, the content remains readable, and the label stays useful under the conditions your business expects. Treat the result as evidence for that exact media-and-surface combination, not as a blanket claim that the printer or every compatible label is waterproof or durable.
For labels that carry dense information, print the smallest real design you expect to use. A generous sample label can hide spacing or readability problems that appear only in production-sized work.
Check the Design and Printing Workflow Before You Buy
A useful label printer has to fit the people and devices that operate it. Map the workflow from the original data to the finished label: who creates the design, where product or inventory information comes from, which phone or computer is used, how the printer connects, and how another staff member finds and reprints the correct template.
Do not infer software support from the connection label alone. Verify current operating-system, app, driver, and device support for every phone or computer that will be part of the workflow.
Do not stop at a successful one-label demonstration. The broader test should cover creating or importing the information, selecting the correct template, connecting the device, printing a representative batch, checking the output, finding the design again, and reordering the exact supplies. This workflow-first recommendation follows from the documented differences among label formats and barcode requirements; it is a practical screen, not a certification protocol.
Questions to answer before purchase include:
- Can the design be produced on every device the business plans to use?
- Can a second employee find and reprint the correct version?
- Does the process handle the normal number of labels without awkward manual repetition?
- Can the exact media be identified and reordered without guesswork?
- Is there a clear recovery process for a changed design, disconnected device, or failed print?
Test Barcodes and QR Codes in the Real Scan Environment
A code-generation feature is only the beginning. The finished symbol has to preserve enough space and contrast to be read in the intended workflow, after it is printed at the real size and applied to the real surface.
GS1 guidance identifies symbol sizing, module size, quiet zones, contrast, reflectance, and module uniformity as factors affecting 2D barcode quality and reliable scanning. This means a printer-level claim such as “clear” or “high resolution” cannot, by itself, prove that a dense code on a small label will work.
Within the cited GS1 retail point-of-sale implementation context, the quiet zone is four modules on every side for QR Code and one module for Data Matrix. Those values are context-specific guidance, not a complete universal design standard for every QR-code application.
GS1 recommends verifying new or modified printed barcodes in the intended scanning environment and re-verifying after relevant software, hardware, or label changes.
For a small-business buying test, print the actual code, at the actual size, on the intended stock; apply it as planned; and scan it with the equipment and lighting used in the workflow. A phone-camera spot check can be a useful operational screen, but it should not be described as formal verification or a guarantee of production performance.
Compare Ownership Cost, Not Just Printer Price
The purchase price is only one input. A more useful comparison estimates what the complete labeling process costs over a normal operating period. Use your own current quotes and usage numbers so the result reflects your business rather than an unstable market snapshot.
Compatible media belongs in the calculation because documented label formats can be model- and output-dependent.
The decision should therefore compare the printer and its exact resupply path as one workflow.
Use this worksheet for each option:
- Device cost: the current price you are actually offered.
- Required media: the exact compatible label or tape SKU for each job.
- Normal volume: labels expected per week or month.
- Replacement frequency: how often a roll or tape must be reordered at that volume.
- Setup and reprint time: the staff time required to design, connect, print, find a saved template, and correct errors.
- Test allowance: a business-entered allowance for setup samples or failed prints—do not borrow a generic waste percentage.
- Availability check: whether the exact supply can be identified and obtained when needed.
A simple comparison can use: period cost = device allocation + supplies purchased + business-estimated labor and test allowance. The useful output is not a universal winner. It is a transparent estimate based on your labels, current quotes, and operating volume.
Run a Seven-Step Test Before Committing
The strongest purchase evidence is a small, representative run of the complete job. Use the hardest normal label—not an oversized demonstration—and involve the devices and staff that will use the system.
Seven-step pre-purchase workflow test
- Design: Build the real label at its intended dimensions with the smallest normal text or densest normal code.
- Import: Bring in the kind of product, inventory, or shipping information the business normally uses.
- Connect: Pair or connect every required phone or computer using the documented workflow.
- Print: Produce a representative batch on the exact intended media and confirm that stock against the exact model and output.
- Scan and inspect: Check readability, spacing, contrast, and code performance in the intended environment; GS1 identifies these as material quality considerations.
GS1 recommends environment-specific verification and re-verification after relevant changes.
- Apply: Put the label on the actual surface and observe the business-relevant handling or exposure conditions without turning that sample into a blanket durability claim.
- Repeat and reorder: Ask another staff member to find the design, reprint it, and identify the exact replacement supply.
Record failures as decision inputs. If the label does not fit, the code loses usable quiet space, the workflow cannot be repeated, or the supply cannot be identified reliably, revise the design or choose another printer/media path before committing.
Know When a Compact Label Maker Is the Wrong Tool
A compact label maker is not automatically the right choice just because the task involves a label. Route the requirement elsewhere when the finished output or process falls outside the verified compact workflow.
For a business centered on 4 × 6 carrier labels, investigate a dedicated shipping-label printer and validate it against the carrier or commerce platform actually used.
This separation follows the documented difference between compact formats and shipping media; it is not a claim that one model is universally best.
Also pause when the business requires results that the available evidence does not establish—for example, a blanket waterproof or durability guarantee, a particular full-color branding process, or a legal determination about required label content. In those cases, define the requirement and obtain the relevant production or qualified compliance guidance instead of assuming a compact thermal device resolves it.
Frequently asked questions
Do small-business label makers need ink?
The compact label makers and direct-thermal supplies documented in the retained sources use heat-sensitive media without ink, toner, or ribbon. Confirm the exact model and compatible media because formats are not interchangeable.
Can one label maker print both product labels and 4 × 6 shipping labels?
Do not assume so. Compact label makers and dedicated 4 × 6 shipping printing use different media and workflows. Check the exact required output and model specification rather than relying on the broad “label maker” category name.
How should a small business test QR codes?
Print the real code at the real size on the intended stock, preserve adequate space and contrast, apply it to the intended surface, and test it in the real scan environment. GS1 identifies sizing, quiet zones, contrast, reflectance, and module uniformity as quality factors and recommends verification after relevant changes. Do not describe a simple phone scan as formal verification or a guarantee.
What recurring costs should be checked?
Identify the exact compatible stock, expected label volume, replacement frequency, staff setup and reprint time, and a business-specific allowance for test or failed prints. Exact model and format matching belongs in the resupply decision.
Make the Decision From Your Workflow
The best label maker for a small business is the setup that completes the required job repeatedly: the right output format, compatible media, workable software and connection, acceptable printed result, usable scan performance where relevant, and a clear resupply path. This workflow test is a practical decision method derived from the cited product, media, and barcode guidance—not a certification protocol.
Write down the result of each check and choose the smallest printer class that meets the real requirement. If the work is 4 × 6 shipping, follow the shipping-printer path. If it is compact product, inventory, office, or name-tag labeling, compare compact options using the exact media and workflow you tested.